
As a dog owner, you're probably no stranger to the frustration of dealing with mats in your furry friend's fur. Those pesky knots and tangles can be a real challenge to remove, and if not done properly, can cause discomfort and even pain for your dog. In this article, we'll take a closer look at how to remove dog mats safely and effectively, so you can keep your dog's coat looking and feeling its best.
Understanding Dog Mats
Dog mats are essentially knots of fur that have become tangled and matted together. They can occur in any breed of dog, but are more common in dogs with long or curly coats. Mats can be caused by a variety of factors, including infrequent grooming, rubbing against rough surfaces, and even medical conditions such as skin allergies or fleas. If left untreated, mats can lead to a range of problems, including skin irritation, hair loss, and even infection.
Before we dive into the process of removing dog mats, it's essential to understand that patience and gentle care are key. Removing mats can be a time-consuming and delicate process, and it's crucial to approach it with caution to avoid causing your dog any unnecessary stress or discomfort.

Preparing to Remove Dog Mats
Before you start removing mats, there are a few things you'll need to do to prepare. First, make sure you have the right tools for the job. You'll need a wide-tooth comb, a slicker brush, and a detangling spray or conditioner. It's also a good idea to have some treats on hand to reward your dog for their patience and good behavior. Next, find a quiet and comfortable spot where your dog can relax while you work on removing the mats. This could be a grooming table, a non-slip mat on the floor, or even a favorite cushion or bed.
Once you've got everything you need, it's time to get started. Begin by gently brushing your dog's coat to remove any loose tangles or knots. This will help to prevent any further matting and make the process of removing the existing mats much easier.
Removing Dog Mats: A Step-by-Step Guide
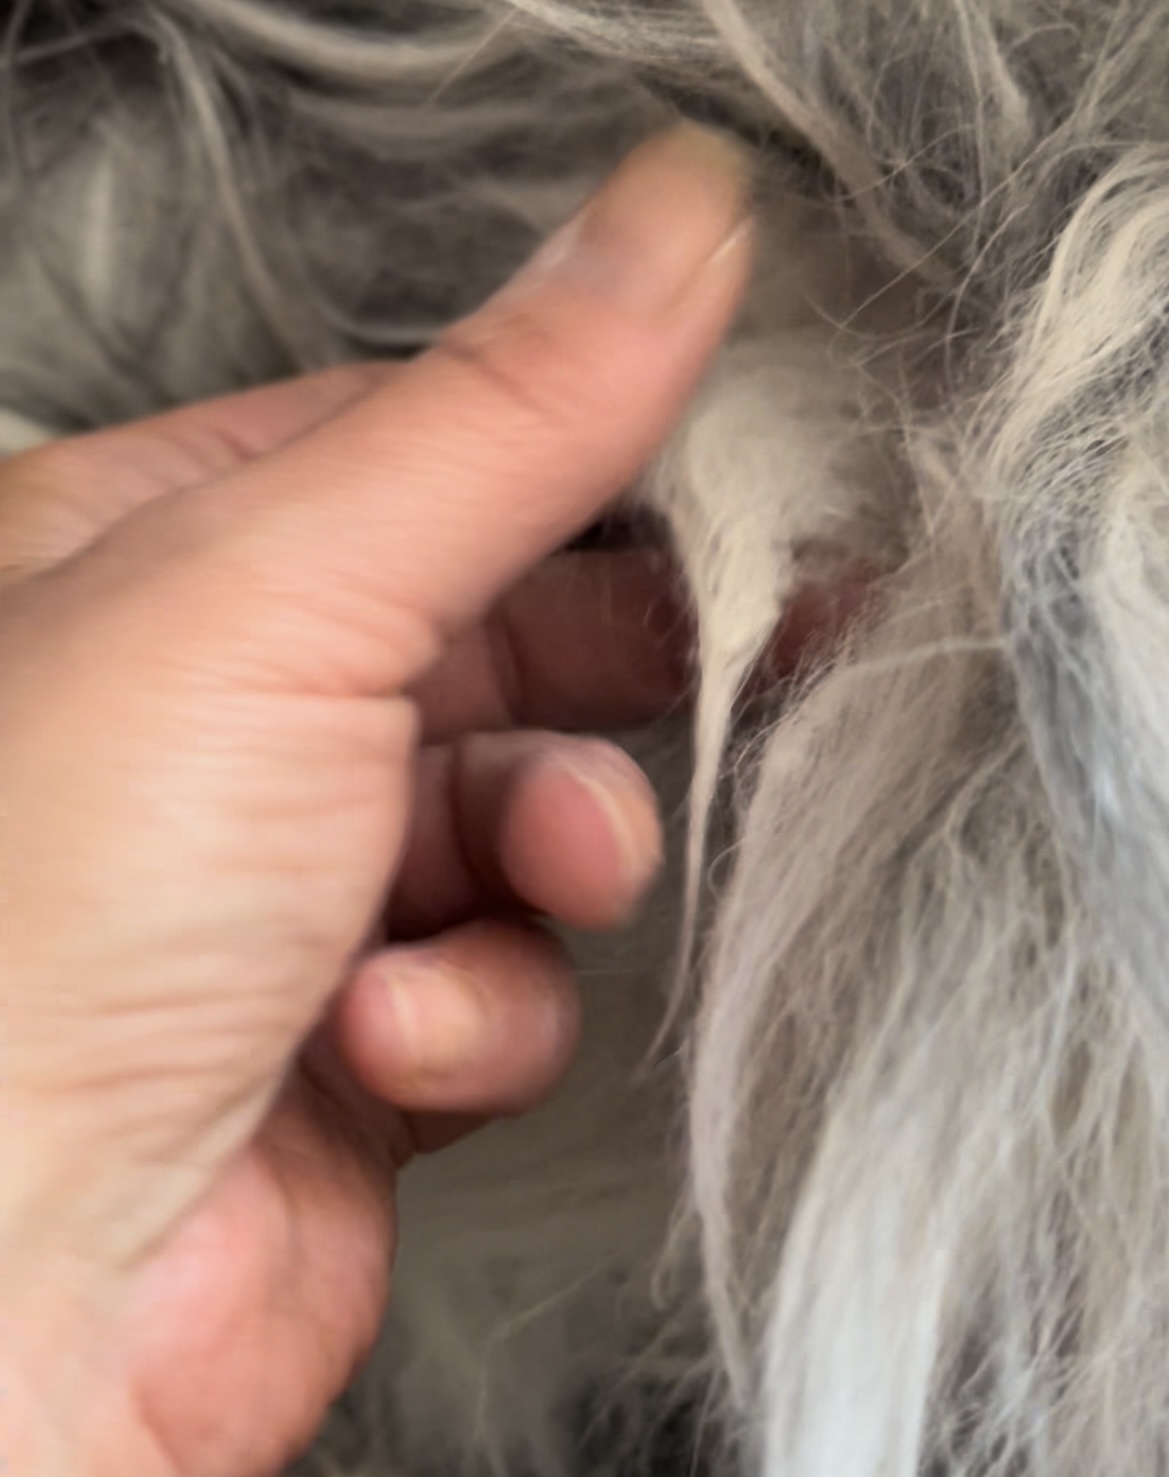
Now it's time to start removing the mats. Begin by identifying the mat you want to remove and gently working your fingers into the surrounding fur. This will help to loosen the mat and make it easier to remove. Next, take your wide-tooth comb and gently work it into the mat, starting from the end and working your way up. Be careful not to pull or tug on the mat, as this can cause your dog discomfort and even lead to skin irritation.
As you work on the mat, use your detangling spray or conditioner to help loosen the knots and tangles. You can also use a little bit of warm water to help soften the mat and make it easier to remove. Once you've worked the comb through the mat, use your slicker brush to gently remove any remaining tangles or knots.

It's essential to work slowly and patiently when removing dog mats, as this can be a time-consuming and delicate process. If you're finding it difficult to remove a particular mat, don't be afraid to take a break and come back to it later. You can also try using a mat breaker or a dematting tool to help loosen the mat and make it easier to remove.
Tips and Tricks for Removing Dog Mats
Removing dog mats can be a challenging and frustrating process, but there are a few tips and tricks you can use to make it easier. One of the most important things to remember is to be patient and gentle when working on mats. Avoid pulling or tugging on the mat, as this can cause your dog discomfort and even lead to skin irritation. Instead, work slowly and carefully, using your fingers and comb to gently loosen the knots and tangles.
Another tip is to use the right tools for the job. A wide-tooth comb and a slicker brush are essential for removing mats, and a detangling spray or conditioner can help to loosen the knots and tangles. You can also try using a little bit of warm water to help soften the mat and make it easier to remove.

Finally, it's essential to remember that preventing mats is often easier than removing them. Regular grooming and brushing can help to prevent mats from forming in the first place, and can also help to identify any potential problems before they become major issues. By taking the time to brush and groom your dog regularly, you can help to keep their coat looking and feeling its best, and prevent the frustration and discomfort of dealing with mats.
Conclusion
Removing dog mats can be a challenging and frustrating process, but with the right tools and techniques, it can also be a relatively straightforward and stress-free experience. By understanding the causes of dog mats, preparing properly, and working slowly and patiently, you can help to remove mats safely and effectively, and keep your dog's coat looking and feeling its best. Remember to be patient and gentle when working on mats, and don't be afraid to take a break and come back to it later if you're finding it difficult. With a little practice and patience, you'll be a pro at removing dog mats in no time.
And there you have it - a comprehensive guide to removing dog mats safely and effectively. Whether you're a seasoned dog owner or a newcomer to the world of canine care, we hope you've found this article helpful and informative. Remember to always prioritize your dog's comfort and well-being, and don't hesitate to seek professional help if you're unsure or uncomfortable removing mats yourself. Happy grooming, and we'll see you in the next article.
